6 Safety Checks to Prevent Gas Leaks in a Water Heater Install
Installing a water heater requires careful attention to ensure safety and proper operation, especially when gas lines are involved. Following thorough safety checks can prevent gas leaks and other hazards, protecting both your property and your household. This guide outlines key steps to ensure a secure and reliable water heater install while addressing critical safety considerations.
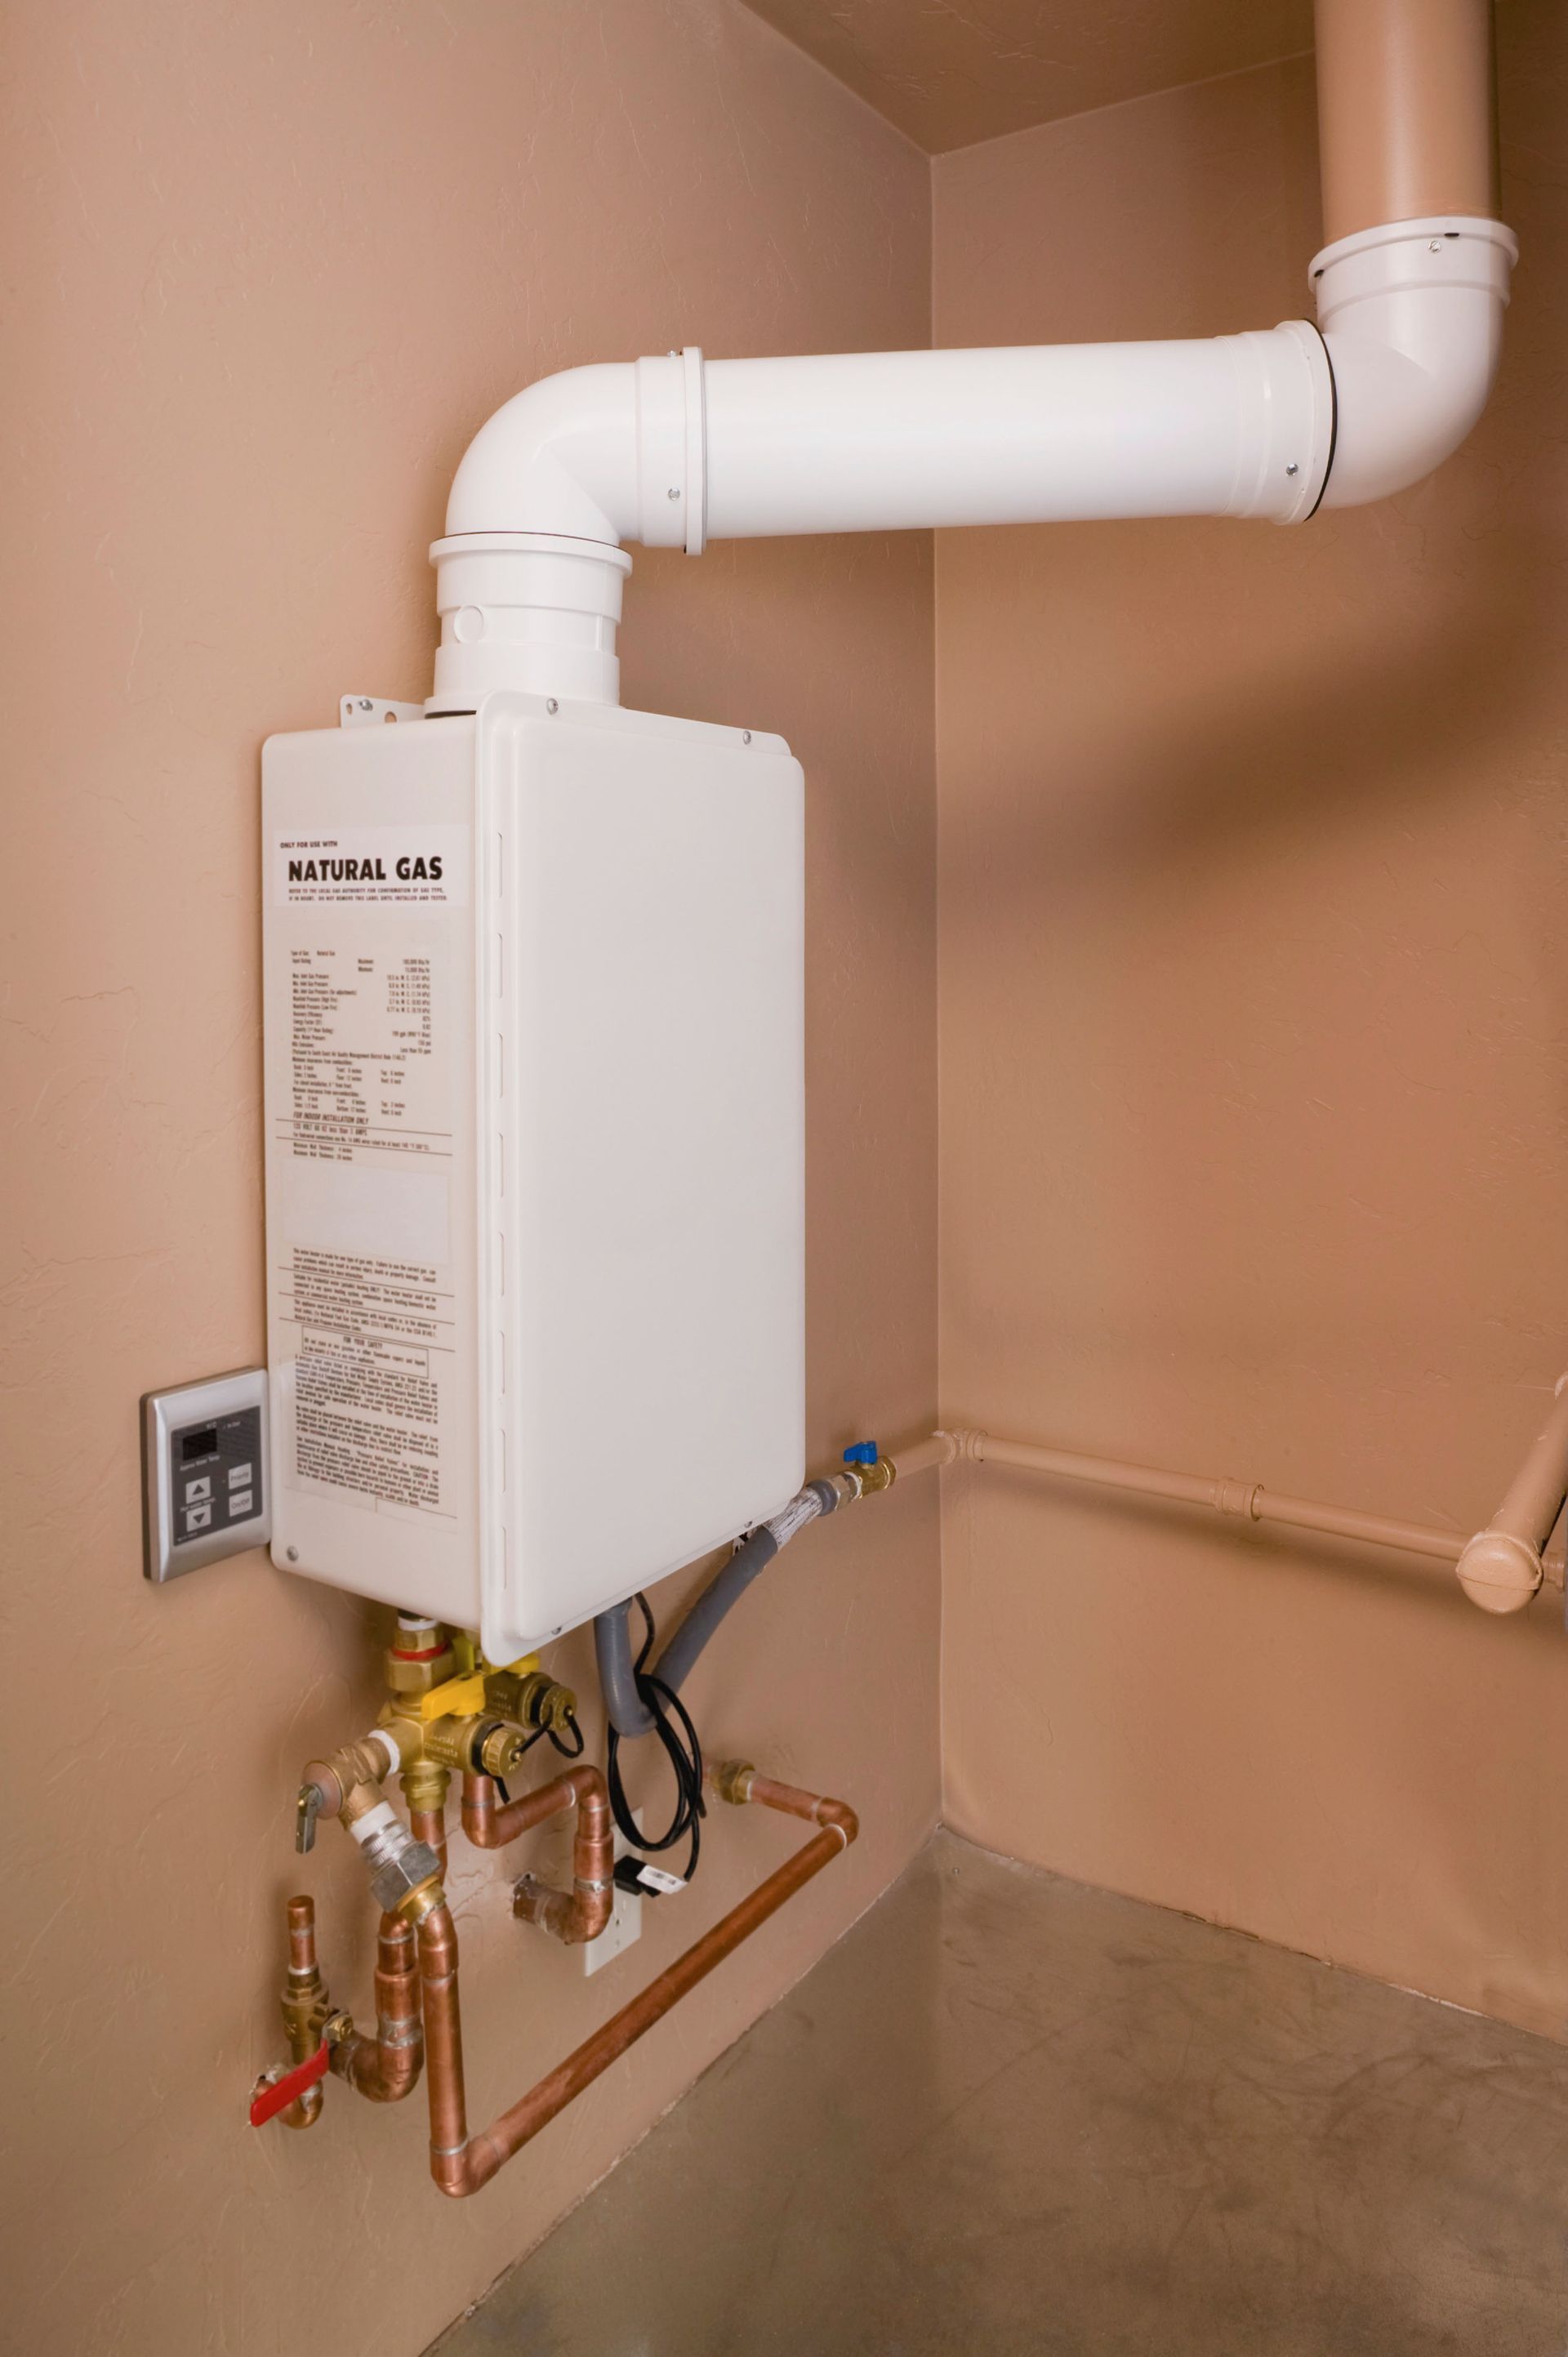
1. The Assessment of Installation Site and Gas Lines
Inspecting the Installation Site
Before beginning a water heater install, examine the area for any obstacles or combustible materials. Ensure the location allows for easy access for future maintenance and repairs. Identifying potential hazards ahead of time helps create a safe working environment and reduces the risk of gas leaks during the water heater install process.
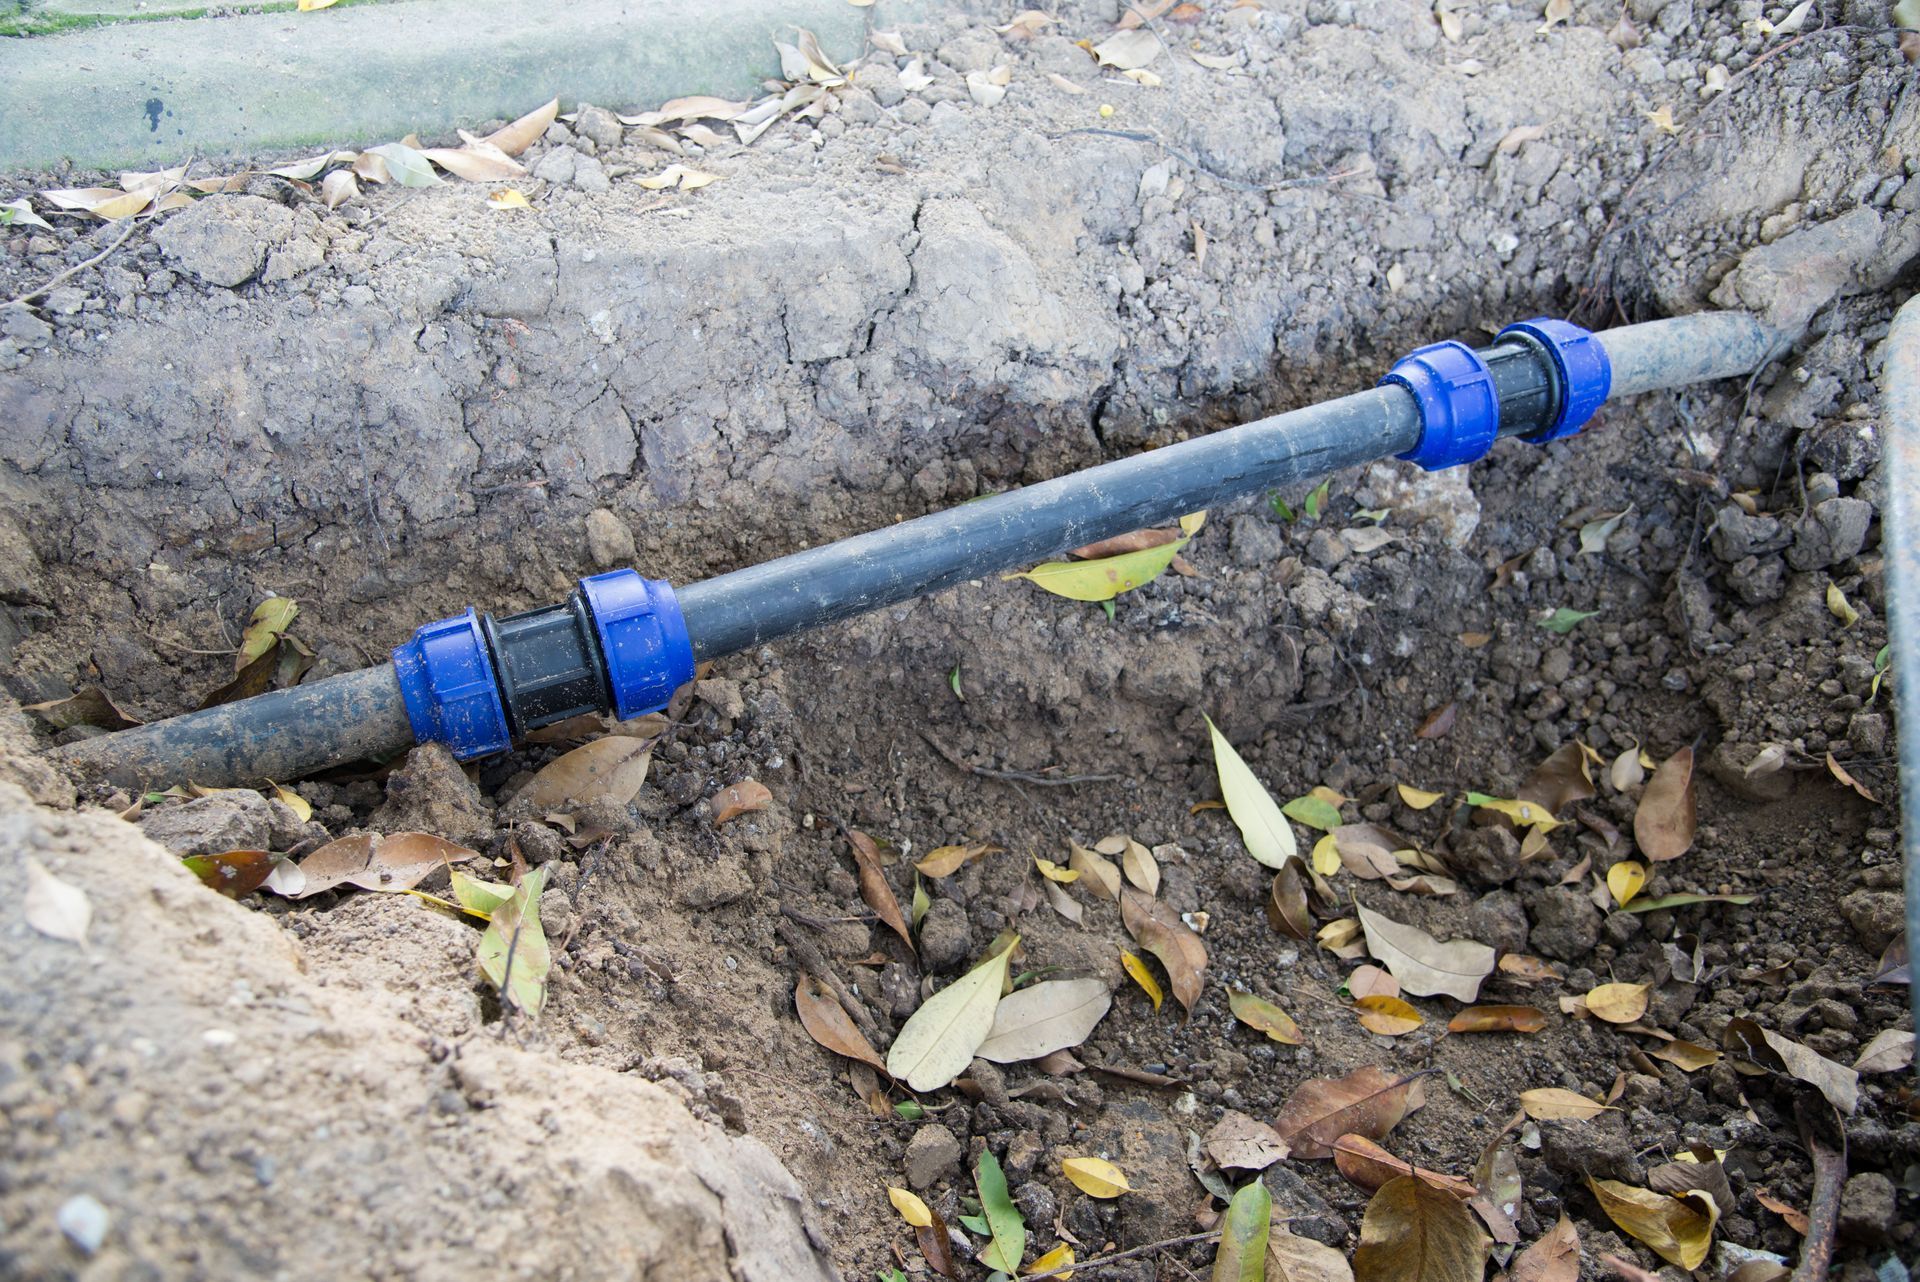
Evaluating Existing Gas Lines
Inspect the condition of existing gas lines, checking for wear, corrosion, or damage. Replace any components that appear compromised. Ensuring that gas lines are intact and reliable minimizes the likelihood of leaks during a water heater install and helps maintain long-term safety in the home.
Reviewing Installation Requirements
Before performing a water heater install, review the manufacturer's specifications and local installation guidelines. Proper placement, venting, and shutoff access are essential for safe operation. Following established guidelines reduces risks and supports long-term system performance and efficiency during the water heater install.
Identifying Proper Ventilation Needs
Assess the space to determine ventilation requirements. Adequate airflow ensures that harmful gases are properly exhausted and reduces the chance of accumulation. Properly planned ventilation is essential for safe and efficient operation of the water heater install.
Planning for Emergency Shutoff Access
Locate the gas shutoff valve in an easily accessible and visible spot. Make sure all household members know how to operate it. Clear shutoff access helps prevent emergencies from escalating and supports quick response if a leak occurs during a water heater install.
2. The Verification of Equipment and Tools
Confirming Compatibility of Parts
Ensure all components match the water heater model specifications. Using compatible parts maintains integrity at connection points and helps prevent leaks or premature failures. Confirming proper parts is a critical step in any water heater install.
Checking the Condition of the Water Heater
Inspect the unit for visible damage or defects. Verify that all seals and connections are intact and functioning properly. Address any issues before starting the water heater install to reduce safety risks and ensure a smooth installation process.
Assembling Required Tools
Have all necessary tools organized and ready. Functional, high-quality tools allow for precise installation and reduce the chance of mistakes that could lead to gas leaks. Proper preparation of tools is key for a successful water heater install.
Verifying Availability of Safety Gear
Ensure safety gear, such as gloves and goggles, is on hand and in good condition. Proper protective equipment helps prevent injuries during installation. Having safety gear ready before a water heater install contributes to an efficient and safe process.
Preparing a Checklist for Installation
Create a step-by-step checklist to ensure every part of the water heater install is completed systematically. Checklists reduce human error and help maintain a safe and effective installation process. This preparation ensures no critical steps are overlooked during the water heater install.
3. The Procedures of Gas Line Connection
Ensuring Proper Connection Sizes
Use gas line fittings that match the manufacturer's specifications. Secure and properly sized connections prevent leaks and maintain the integrity of the gas system. Checking connection sizes is essential for a safe and efficient water heater install.
Using Appropriate Sealant Materials
Apply sealants approved for gas lines according to manufacturer guidance. Correct application strengthens connections and helps prevent leaks over time. Proper sealant use is vital during any water heater install.
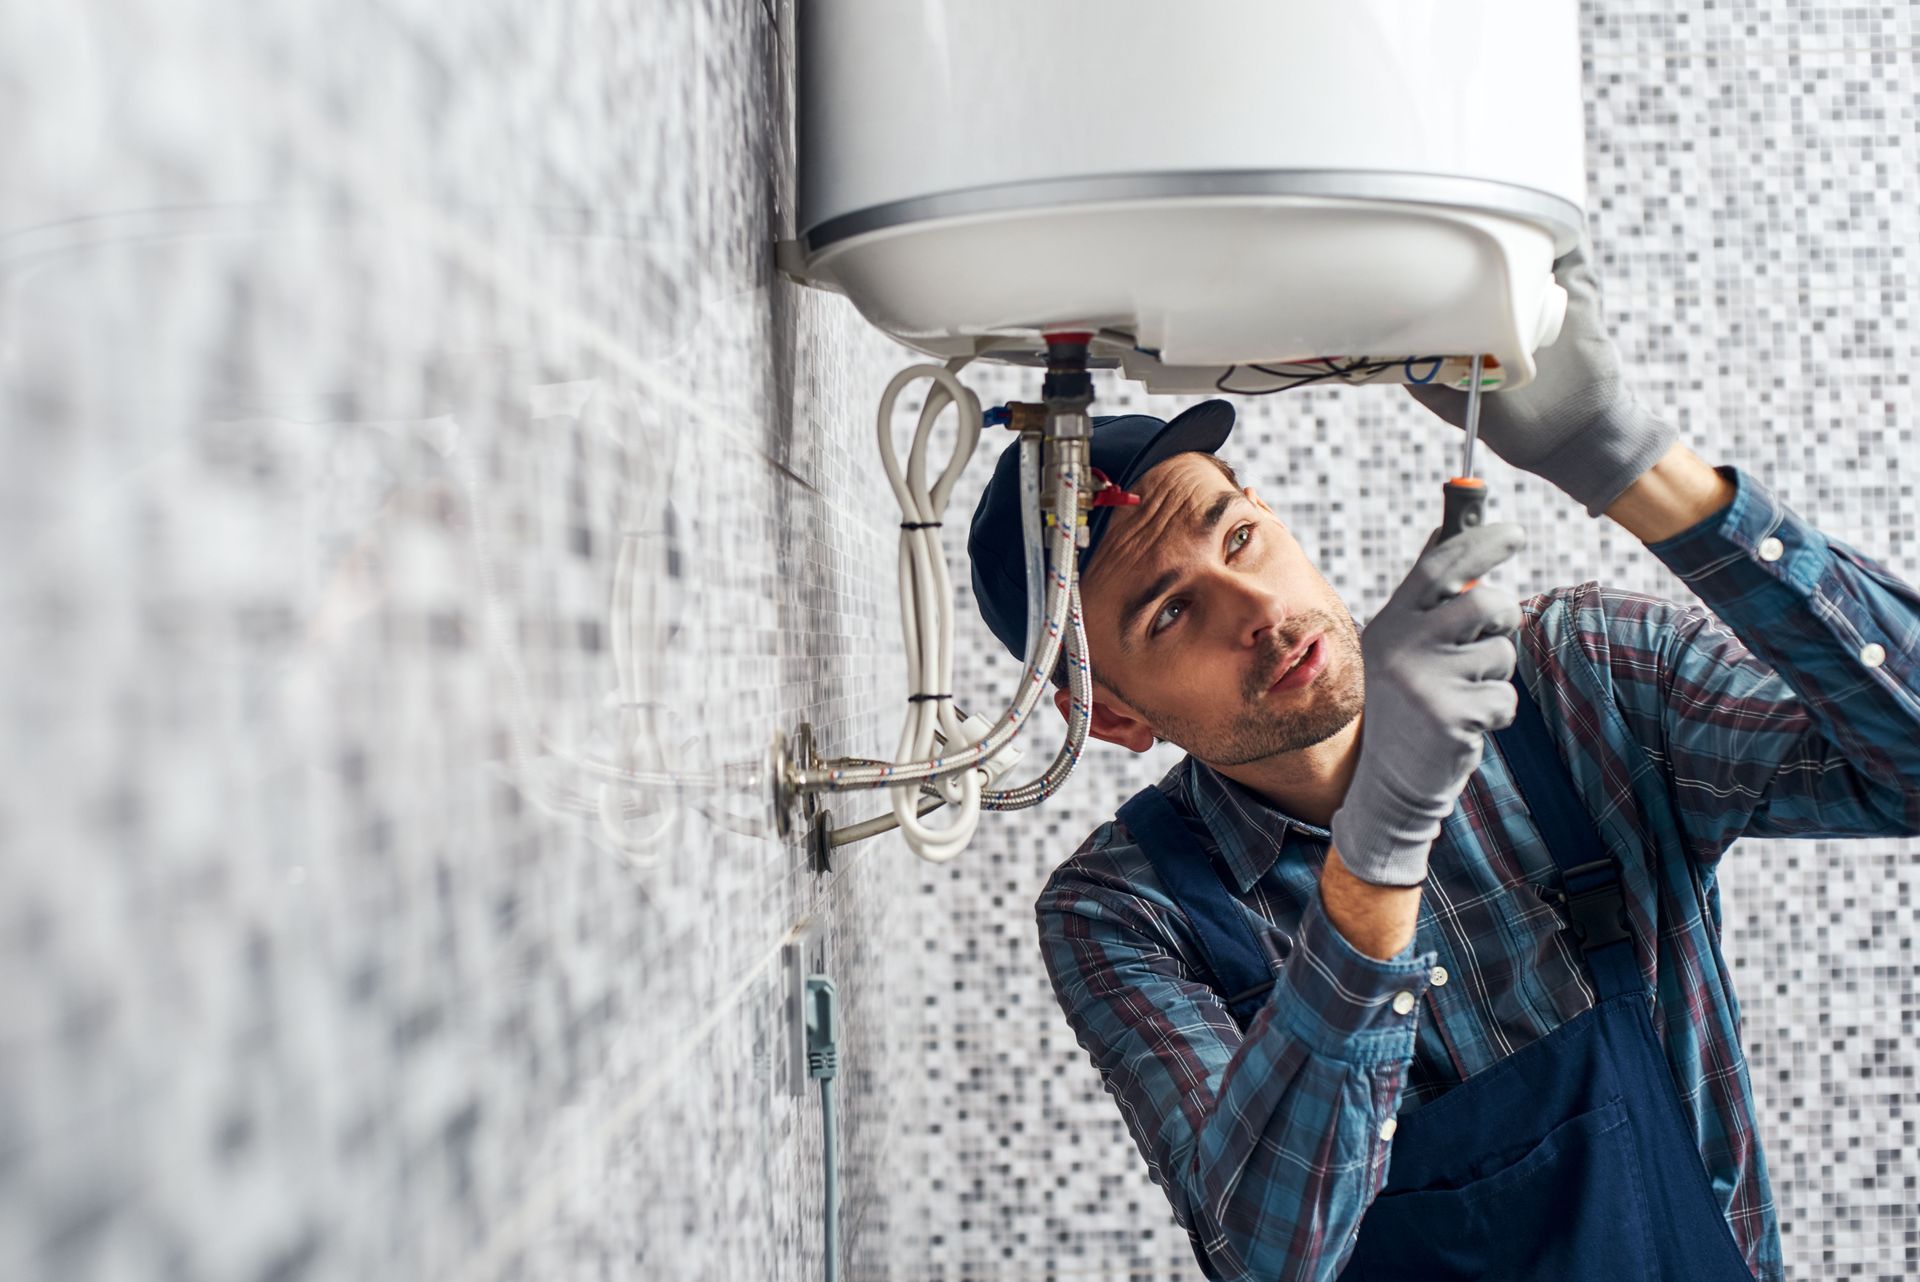
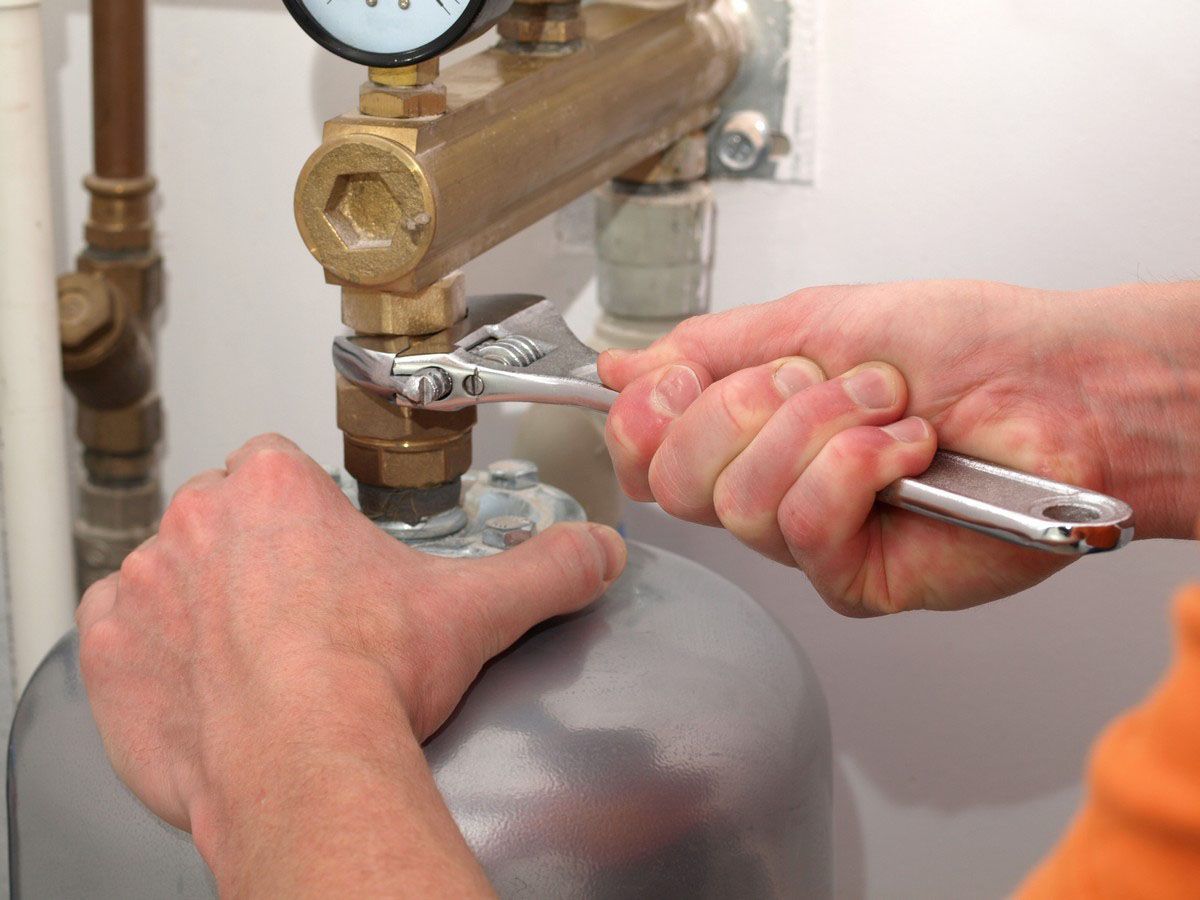
Connecting Gas Lines Securely
Tighten all connections carefully, using the appropriate tools to avoid over- or under-tightening. Verify connections are secure to maintain a leak-free system. Secure connections are essential for the safety and reliability of the water heater install.
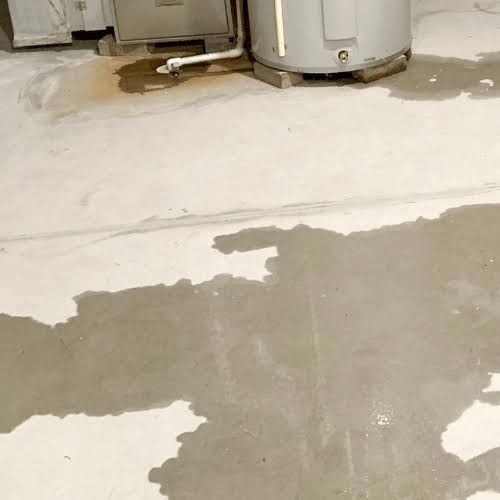
Testing for Immediate Leaks
Conduct a leak test after connecting the lines. Methods include using a gas leak detector or applying a soapy water solution to joints. Detecting and addressing leaks immediately ensures safety before the water heater install is complete. According to Pipeline Safety, a major gas leak or explosion is reported to the federal government every 40 hours.
Implementing Protection for Gas Lines
Shield gas lines from damage by securing them in protective casings and keeping them away from heat or moisture. Proper protection prolongs the durability of the lines and reduces the risk of accidents. Protecting gas lines is a critical component of a safe water heater install.
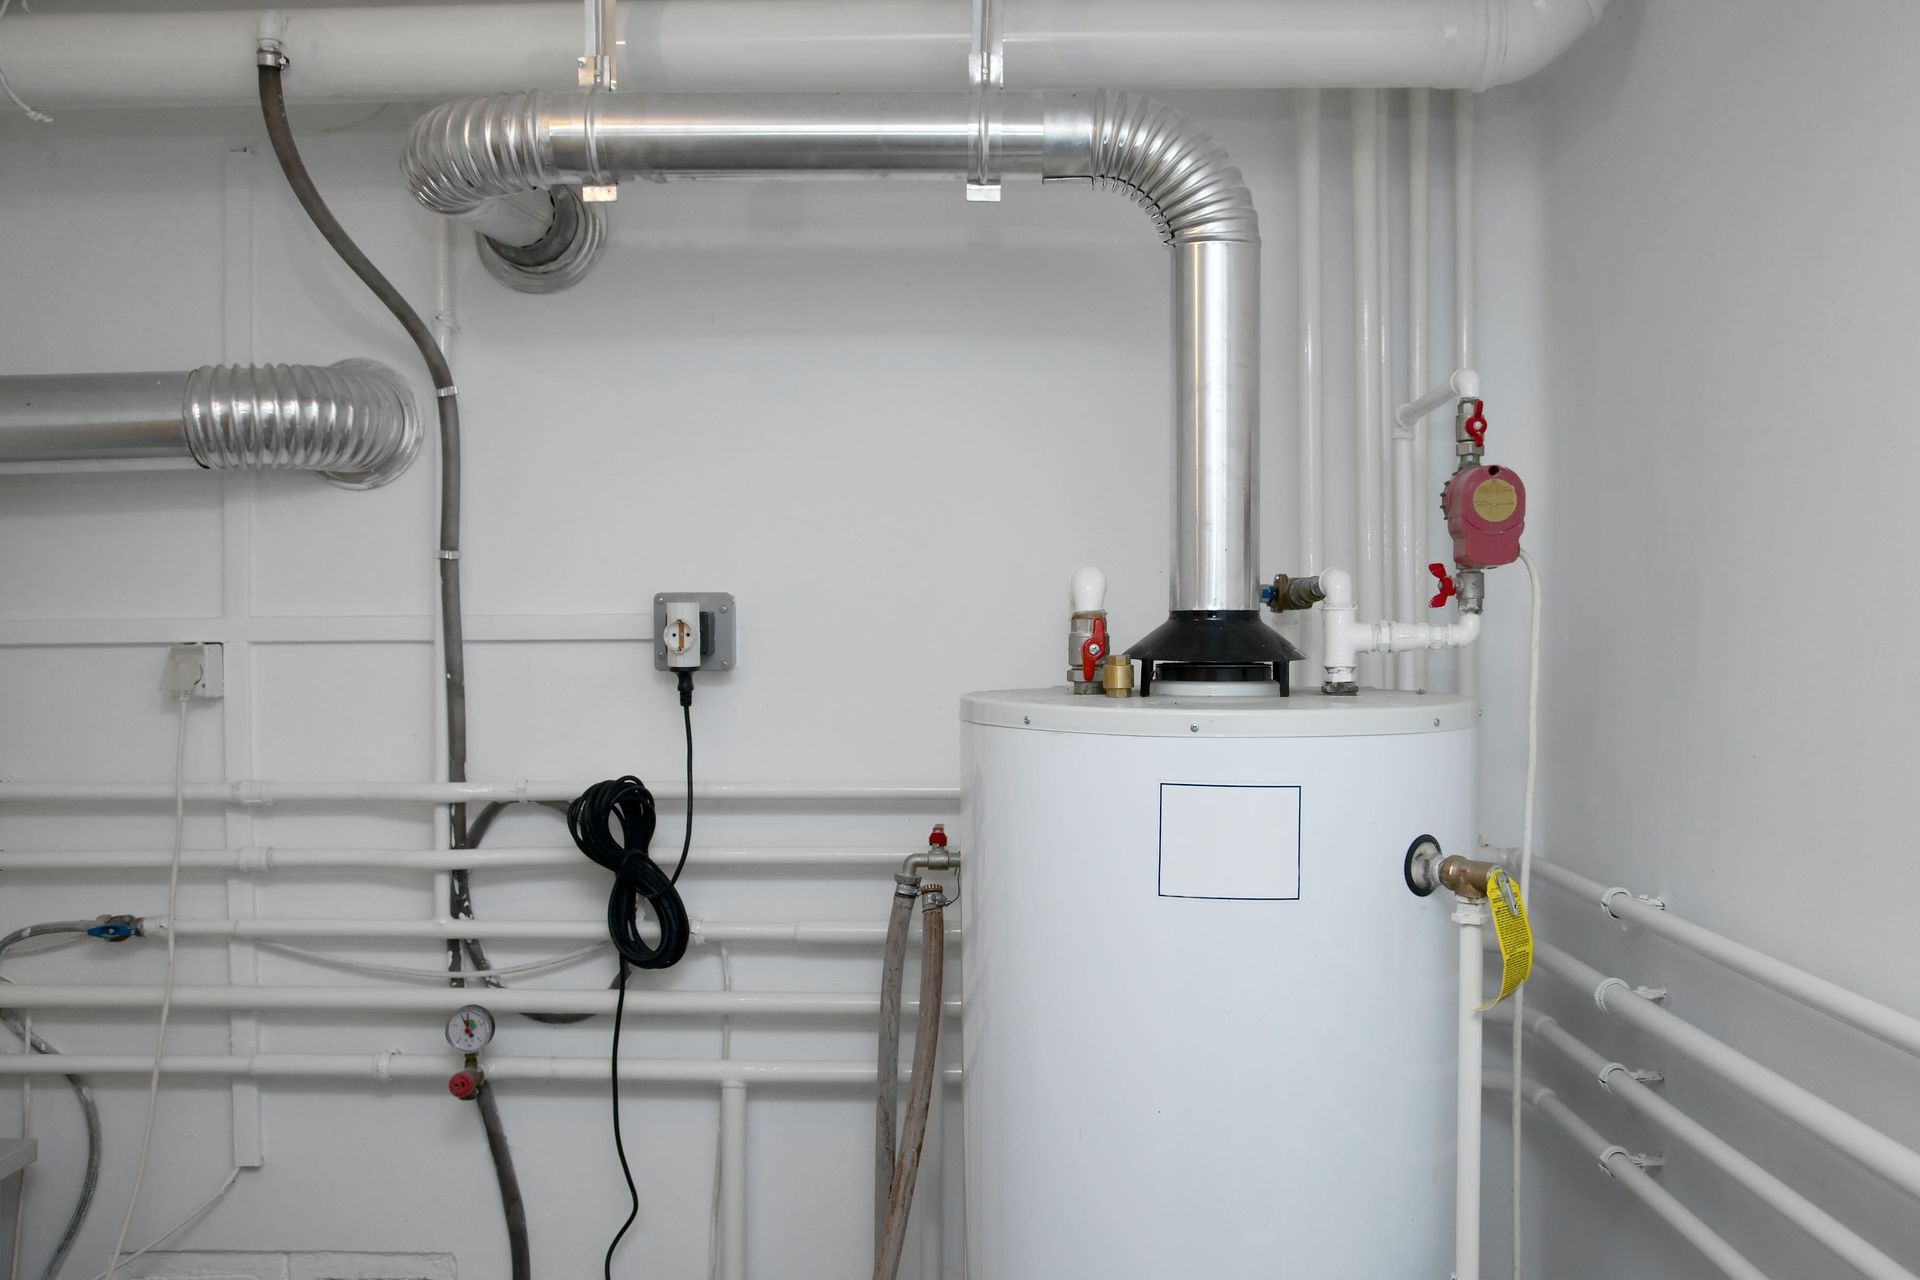
4. The Setup of Ventilation System
Confirming Type of Venting System Required
Ensure the venting system is compatible with the water heater model. Proper venting safely directs gases away from the living space and supports efficient heater operation. Matching vent types correctly is an important step in the water heater install process.
Installing Appropriate Vent Tubing
Measure, cut, and secure durable vent tubing as specified by the manufacturer. Correct vent installation prevents harmful gases from entering the home and ensures proper system function. Proper venting is essential for a safe water heater install.
Securing All Vent Joints
Fasten all vent joints securely using clamps, brackets, or approved adhesives. Regularly inspect these connections to ensure stability and prevent leaks. Securing vent joints properly supports the overall safety of a water heater install.
Testing Ventilation Efficiency
Confirm proper airflow and unobstructed vent paths. Adequate ventilation protects indoor air quality and maintains safe, efficient operation of the water heater. Testing ventilation is a key part of completing a water heater install safely.
Blocking Unused Openings
Seal any unused vent openings with approved materials. Closing gaps prevents air leaks and enhances the overall integrity of the venting system. Ensuring all openings are secured is necessary for a thorough water heater install.
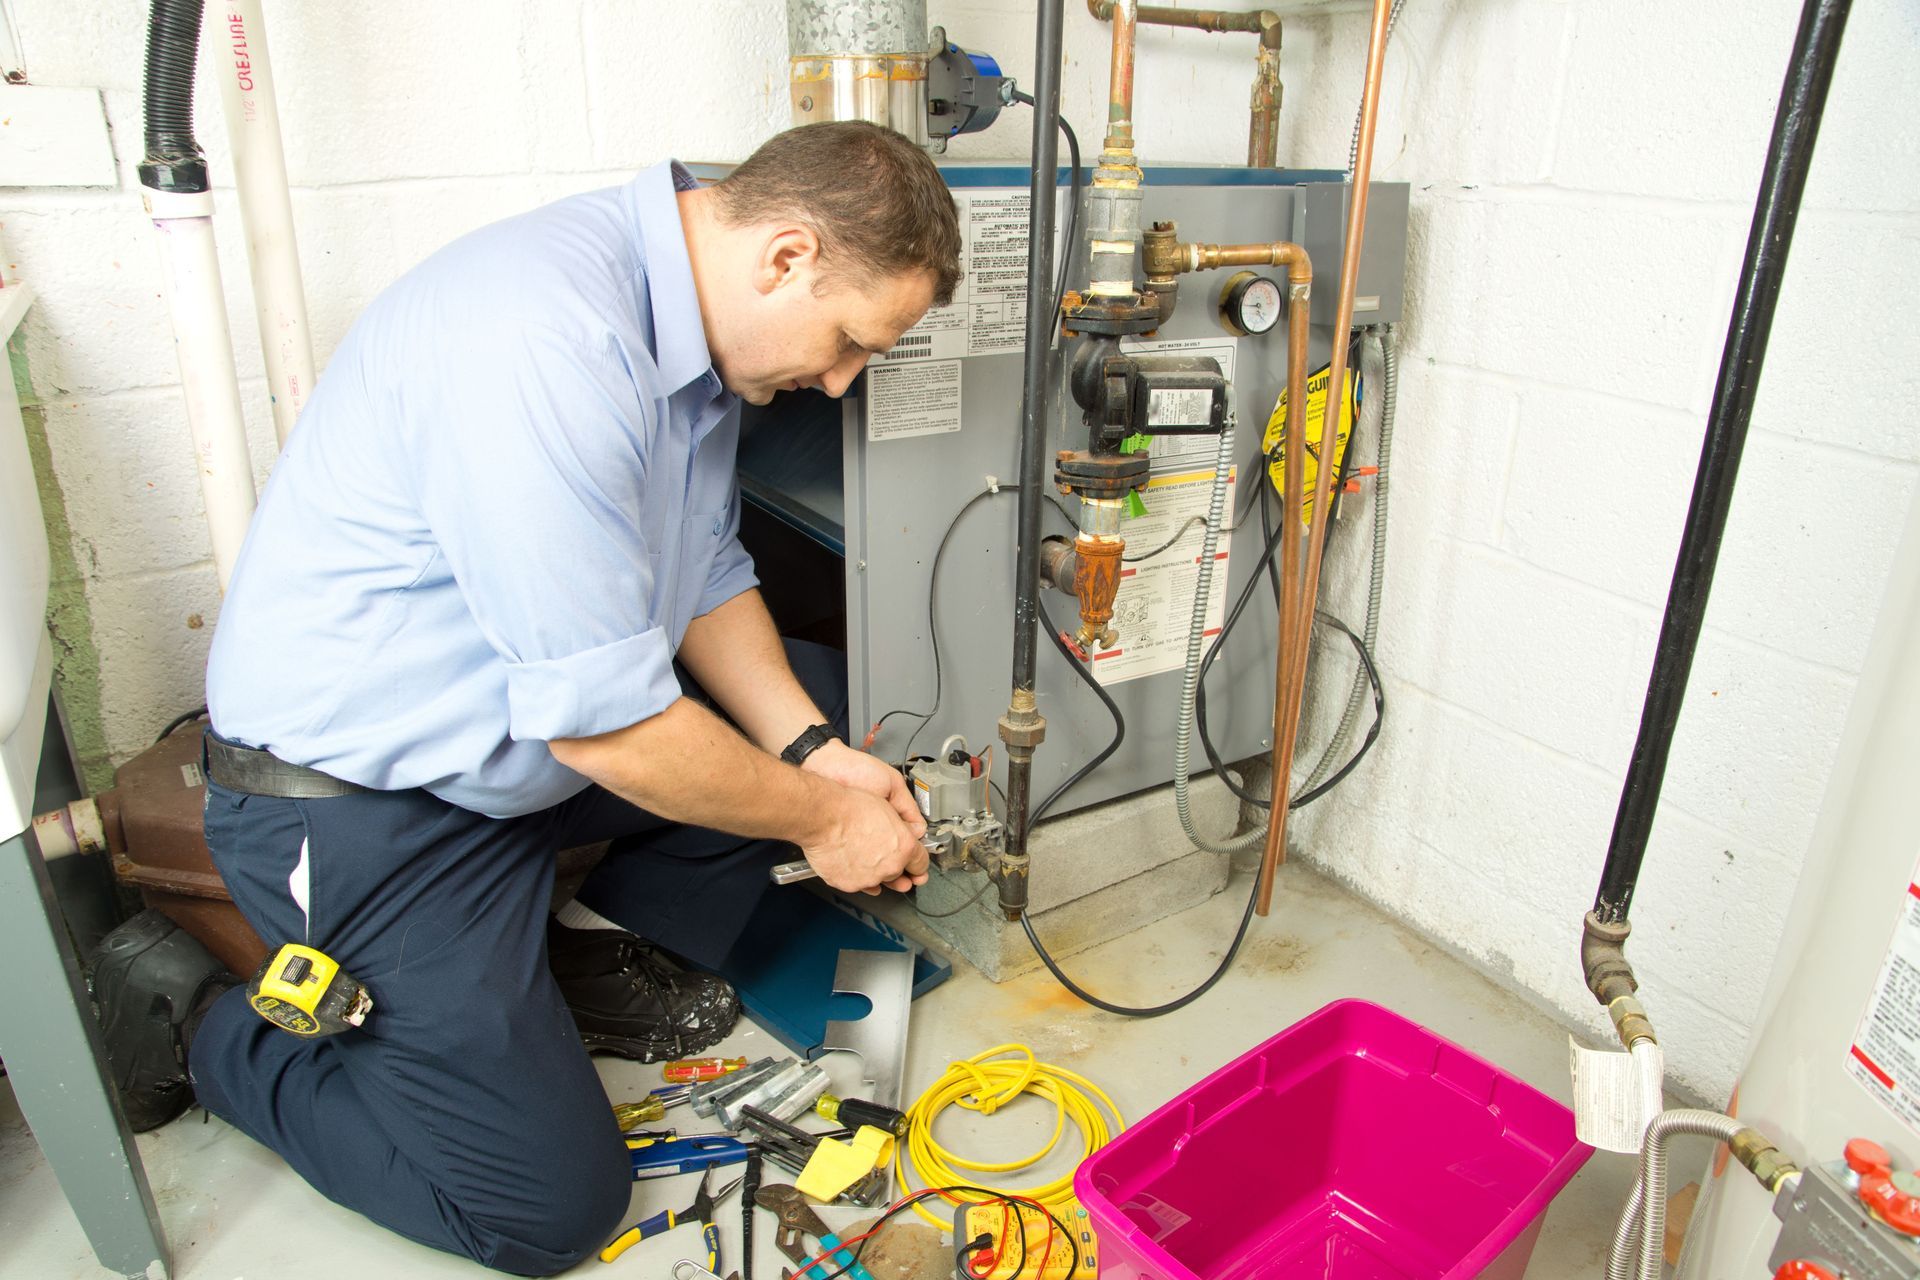
5. The Inspection of System Post-Installation
Performing a Full System Test
Activate the water heater under normal operating conditions to verify performance. Observing the system in action helps detect any immediate issues or irregularities. A full system test confirms the water heater install has been successful and safe.
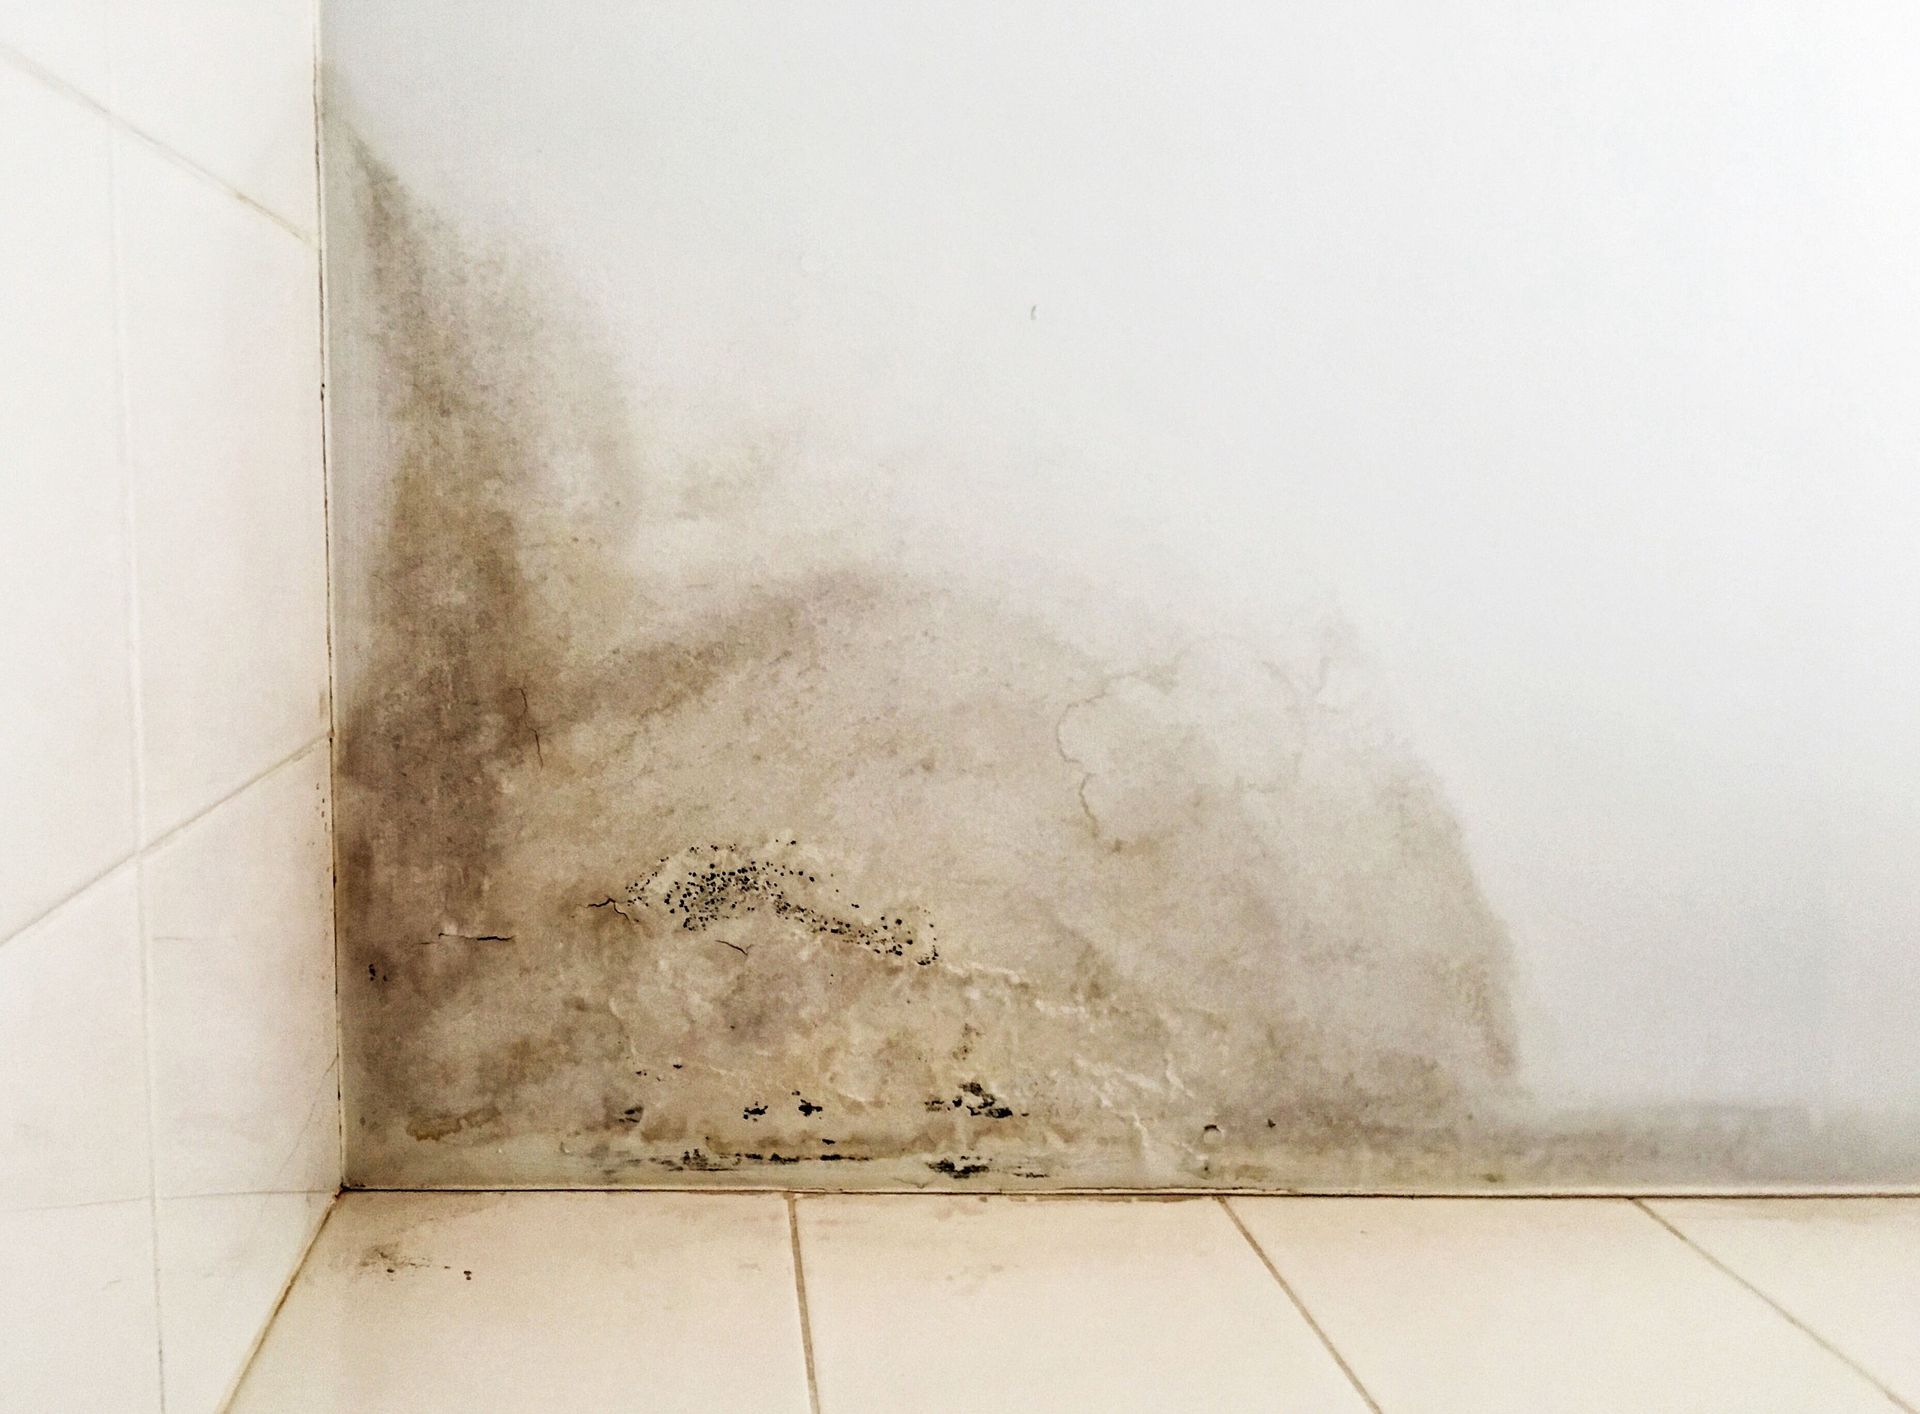
Checking for Gas Odors
Be alert to any unusual odors near connections. Inspect joints and seams thoroughly, and address any concerns immediately to prevent hazards. Checking for gas odors is an essential step after every water heater install.
Inspecting All Connection Points
Examine all gas and water connections for signs of wear or stress. Ensure every connection is secure and intact for reliable operation. Proper inspection of connection points confirms the integrity of a water heater install.
Documenting Inspection Results
Keep a record of inspections to track system performance over time. Documentation assists in planning future maintenance and ensures consistency in care. Maintaining inspection records is an important part of a thorough water heater install.
Scheduling Regular Maintenance Checks
Arrange periodic inspections every 6 to 12 months. Routine maintenance preserves safety and efficiency, helping your system run smoothly over the long term. Scheduling maintenance ensures the water heater install continues to operate safely and efficiently.
6. The Preparation of Emergency Response
Educating Users on Safety Protocols
Make sure household members understand basic safety procedures in case of a gas leak. Awareness and training help prevent accidents and enable swift response. Educating all occupants is a key component of completing a water heater install safely.
Setting Up Alarm Systems
Install CO, smoke, or gas detectors near the water heater. Functional alarms provide early warnings, giving occupants time to respond to potential hazards. Alarms help ensure ongoing safety following a water heater install.
Establishing an Action Plan
Create a clear emergency plan with exit routes and designated meeting points. Regularly review and update the plan to keep it effective and familiar to everyone in the household. An action plan complements a thorough water heater install by preparing for potential emergencies.
Training on Shutoff Procedures
Ensure all users know how to operate the gas shutoff valve quickly and safely. Familiarity with shutoff procedures can minimize risks during an emergency. Proper shutoff training is part of the final steps in a water heater install.
Keeping Emergency Contacts Updated
Maintain an accessible list of emergency contacts, including local utilities and plumbing services. Quick access supports rapid response in critical situations. Keeping emergency contacts updated helps reinforce safety after a water heater install.
Proper water heater install and gas line safety are crucial for preventing leaks and keeping your system running efficiently. Following these safety checks and scheduling routine maintenance helps ensure a safe, reliable water heater. To learn more about professional water heater install, repair, or maintenance services in Keller, TX, visit Jim England Plumbing, where our team specializes in
water heater install, gas line leak detection, and 24/7 emergency plumbing.
Share On: